


Finally, I made myself a drybox for my camera equipment after leaving them all around my room for 2 years plus. Well, I cannot afford a mini size drybox selling outside. I rather use the money to upgrade my lens. :D
I had been searching around the Net for DIY drybox and found some resolution for my drybox. And now I did made the drybox for just below RM 30.00 (approx. USD 10). Below are the steps i took in making the drybox...
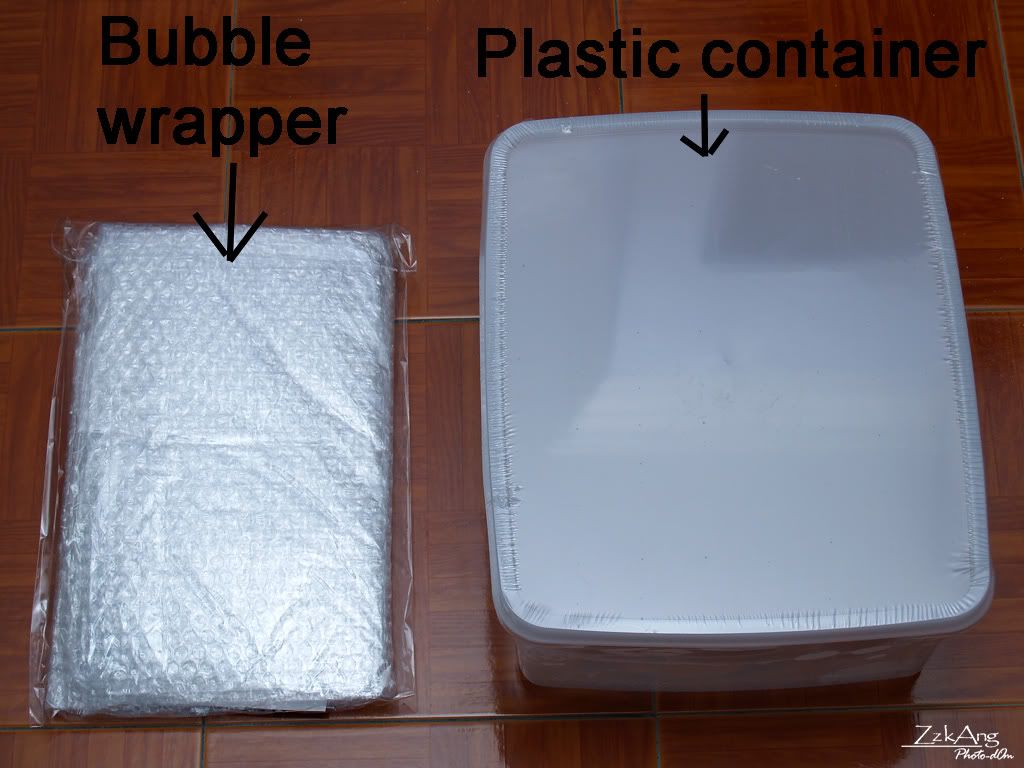
First of all, I bought a plastic container and bubble wrapper which can find easily in the town...
Then, scissor and hole-maker are available at no cost (my home had these items)...

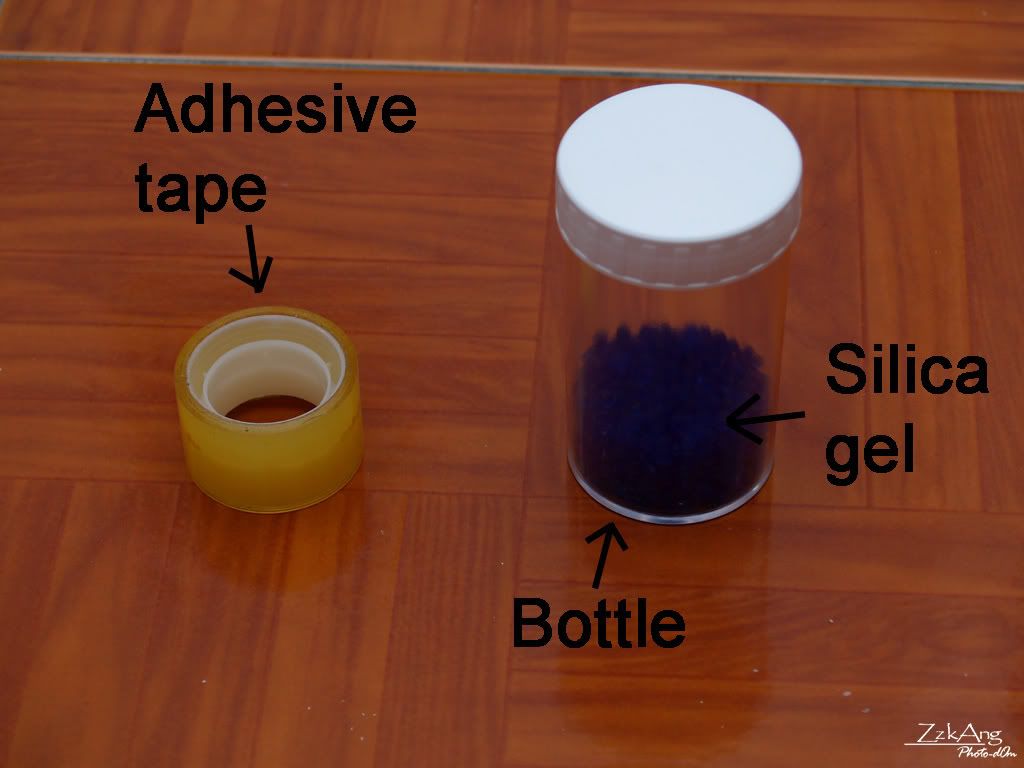
Same goes to adhesive tape where every home should have one. I get the silica gel and bottle for free from my lab... :D
Cut the bubble wrapper to fit the container. You can use the ruler to measure the size of the container, but I took a shorter route...
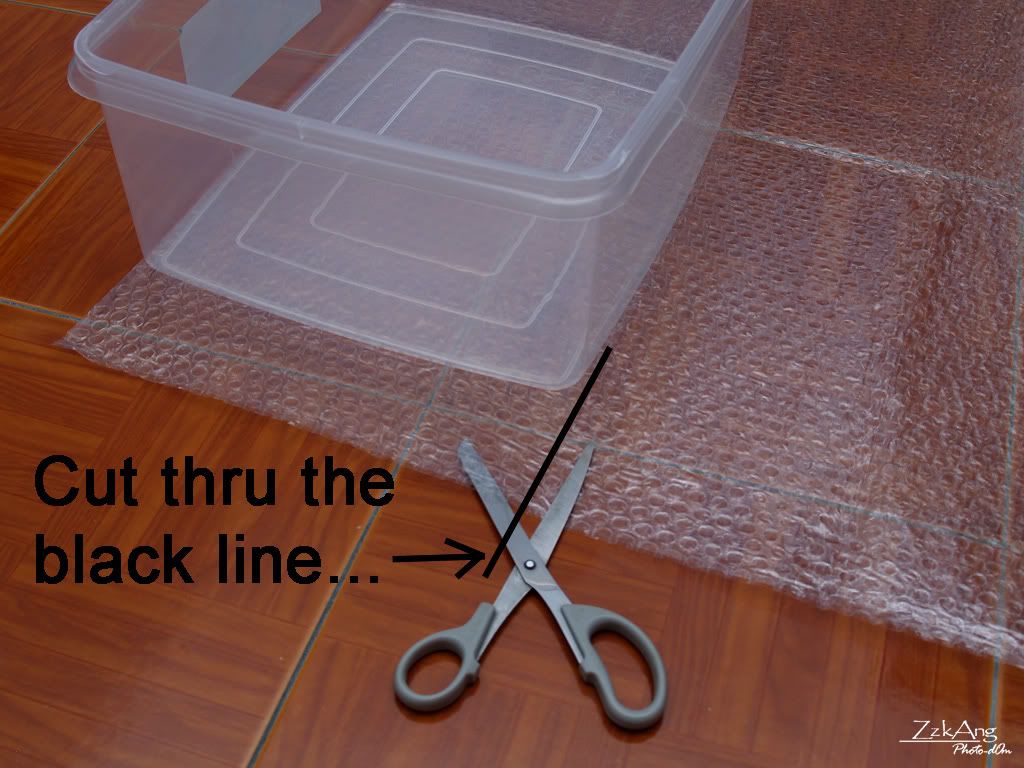
Fit in the bubble wrapper and cut off the excessive part of wrapper...
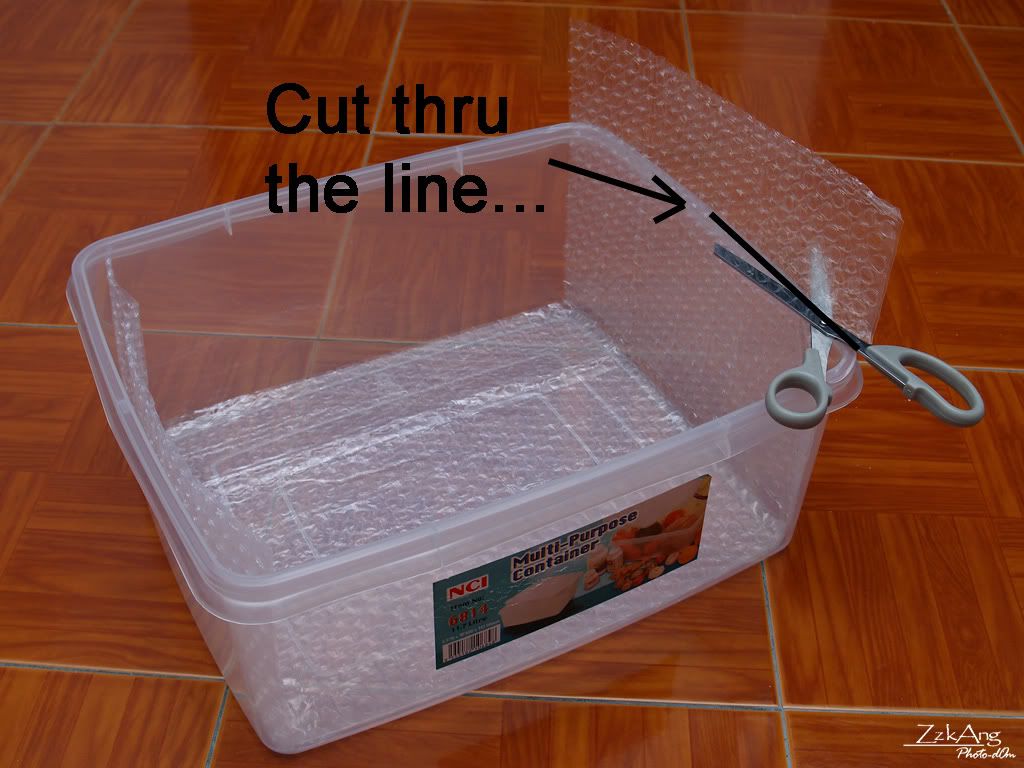
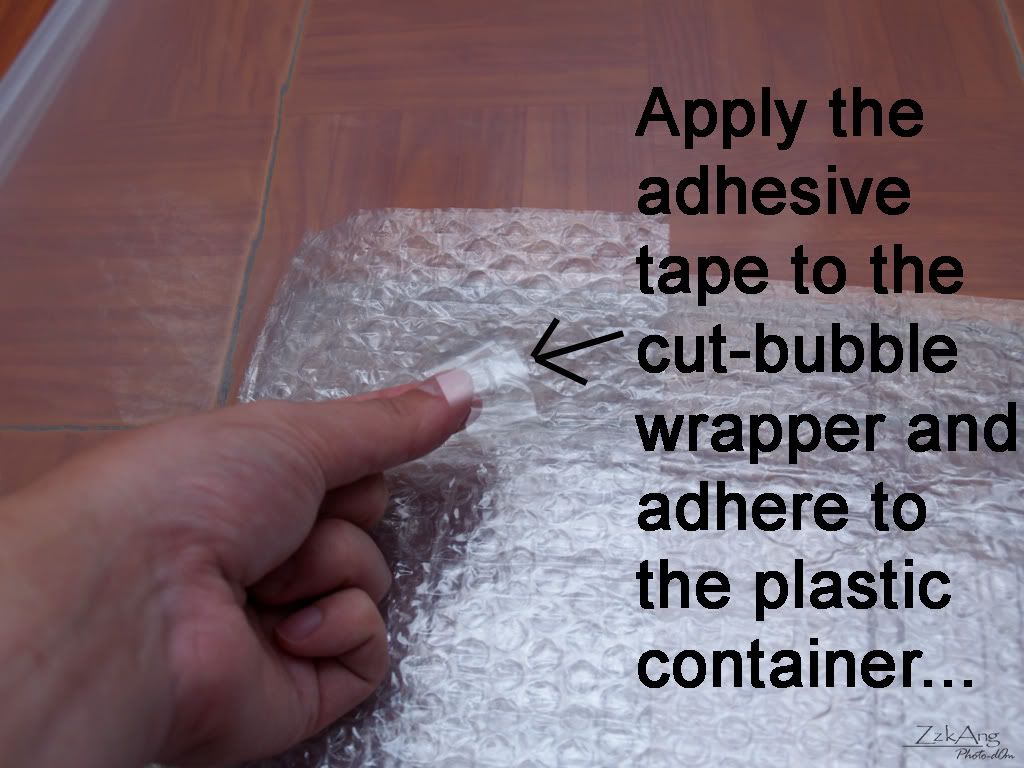
Then, apply the adhesive tape to the wrapper to stick it to the container wall...
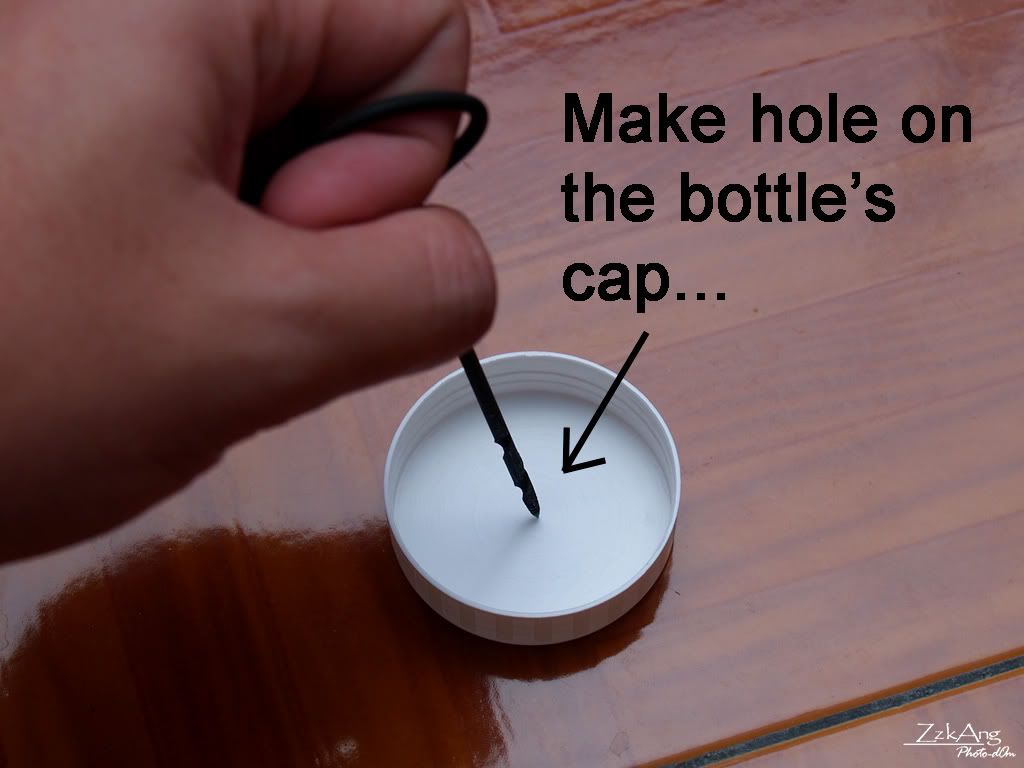
Make holes on the bottle's cap that contain silica gel...
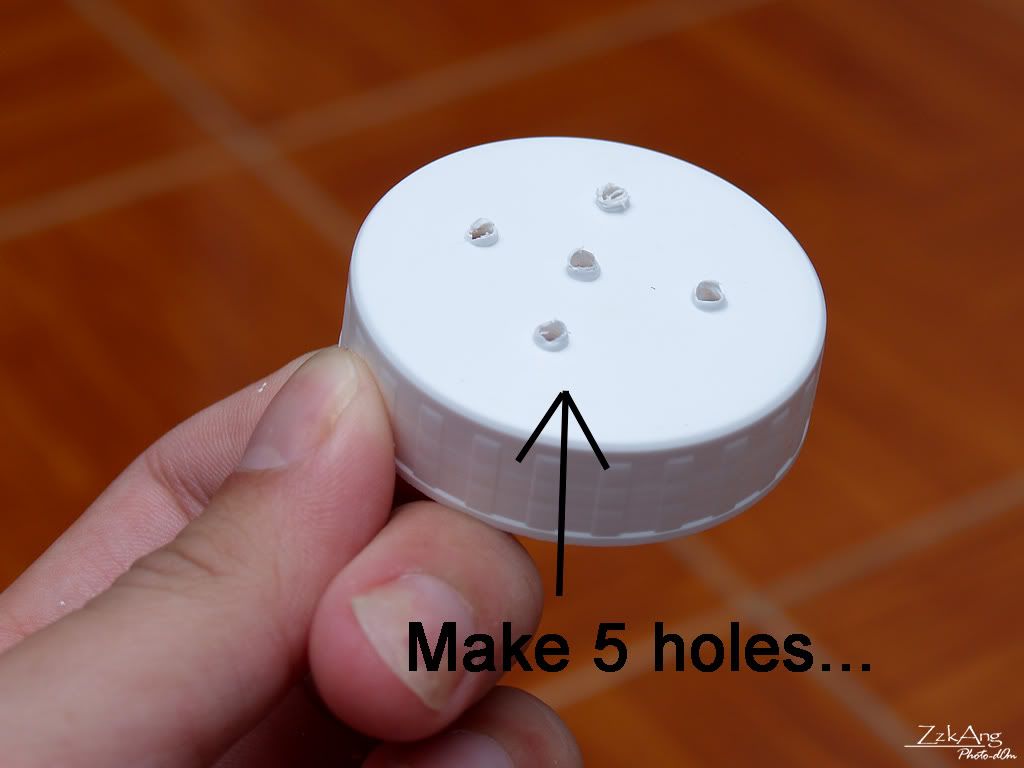
I made 5 holes...
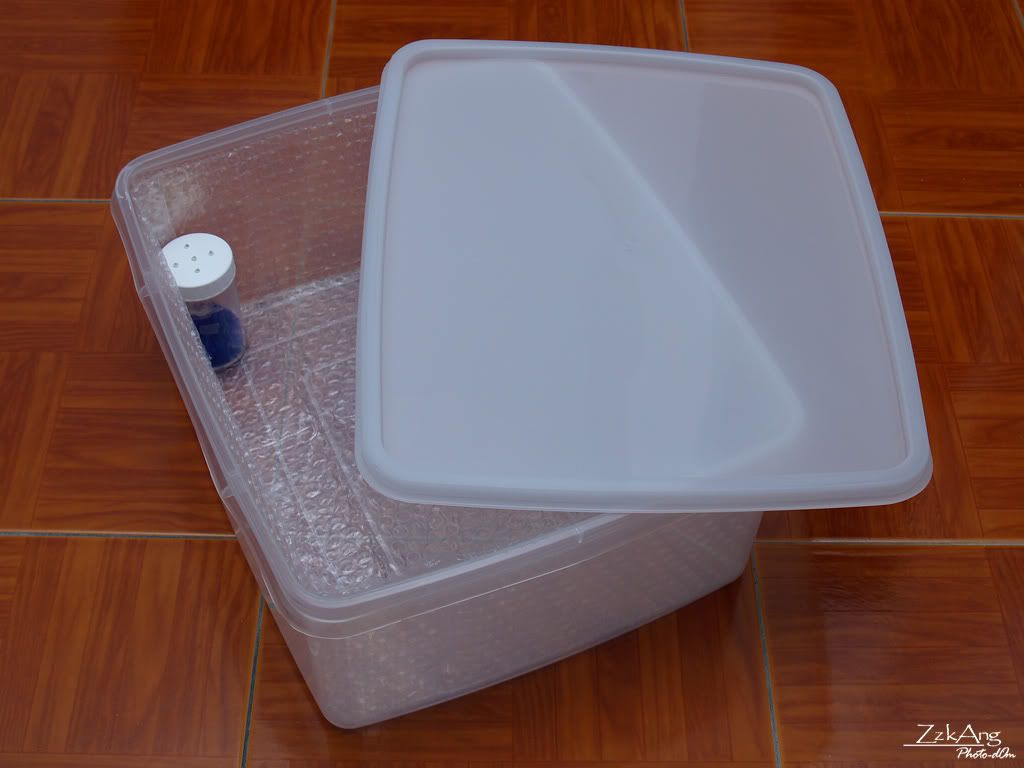
Ta daa!!!...Here's my DIY drybox for my camera equipments and accesories... :D
Here shows how I arrange my camera equipments and accesories in the drybox...
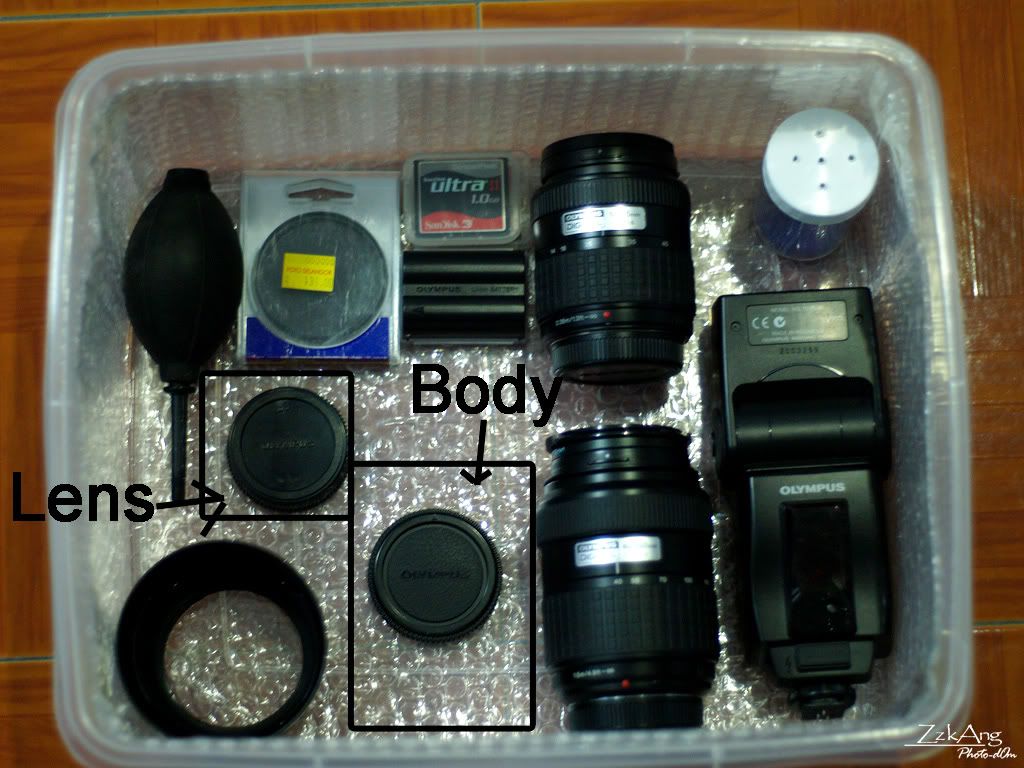
I hope this DIY drybox can function effectively. You can try yourself too if you facing budget problem in acquiring a drybox... :D


