Featured Post
2010-05-02
D.I.Y. Fisheye Lens
2010-02-28
Superheadz Plamodel Camera *Updated*
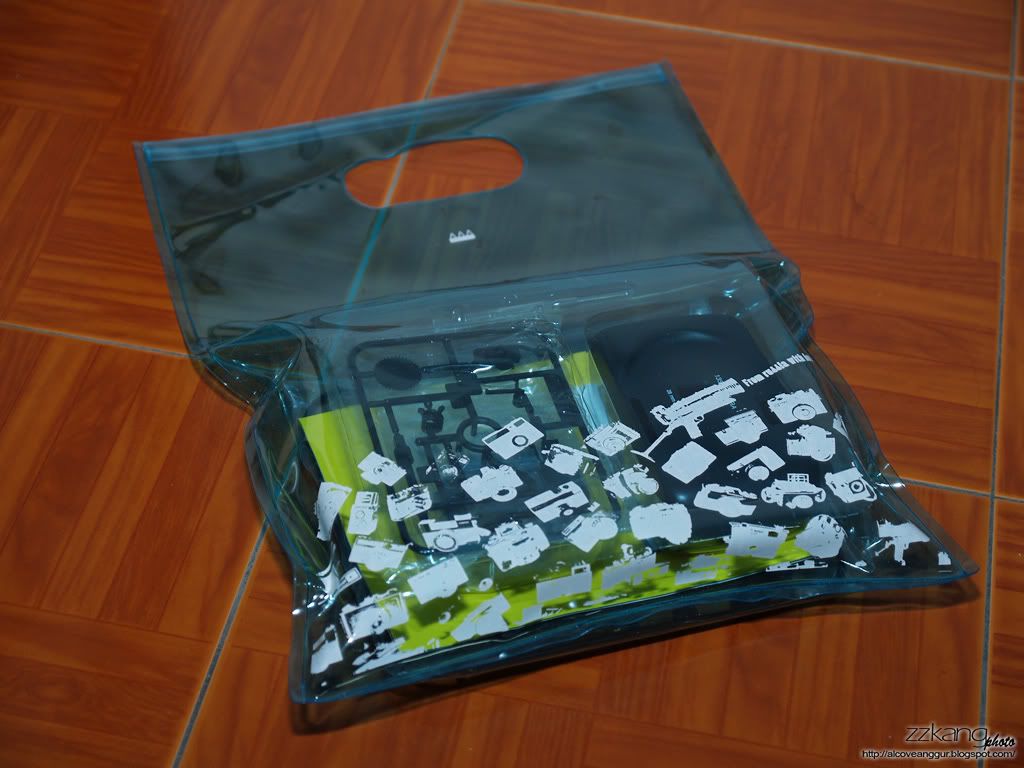
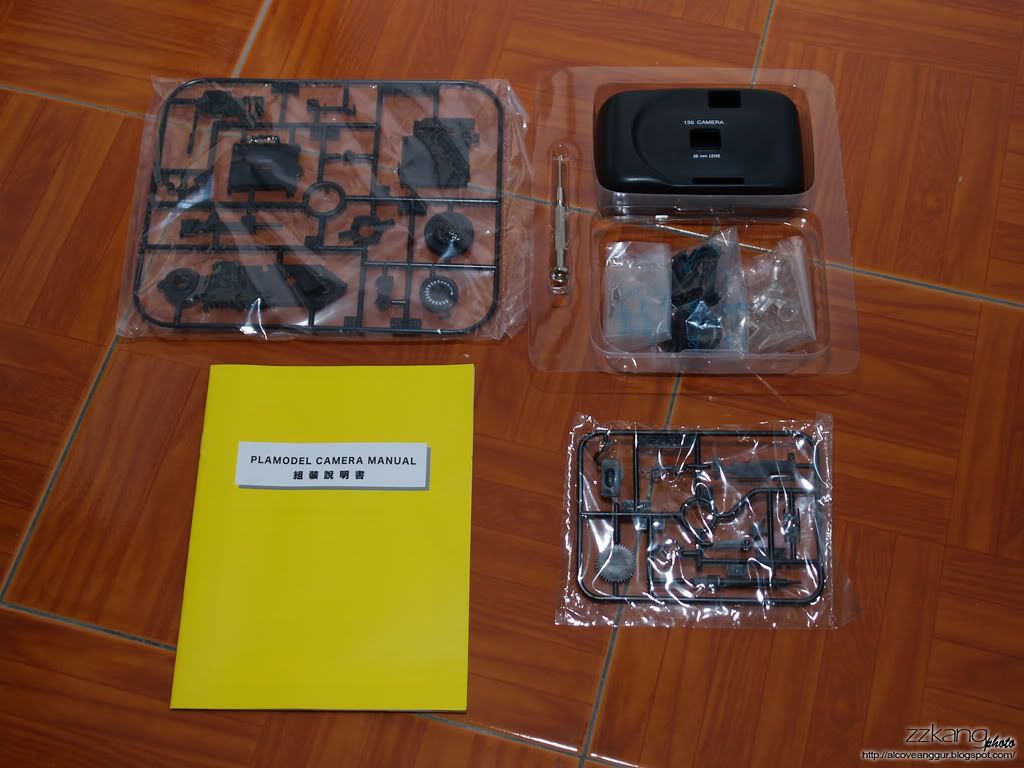
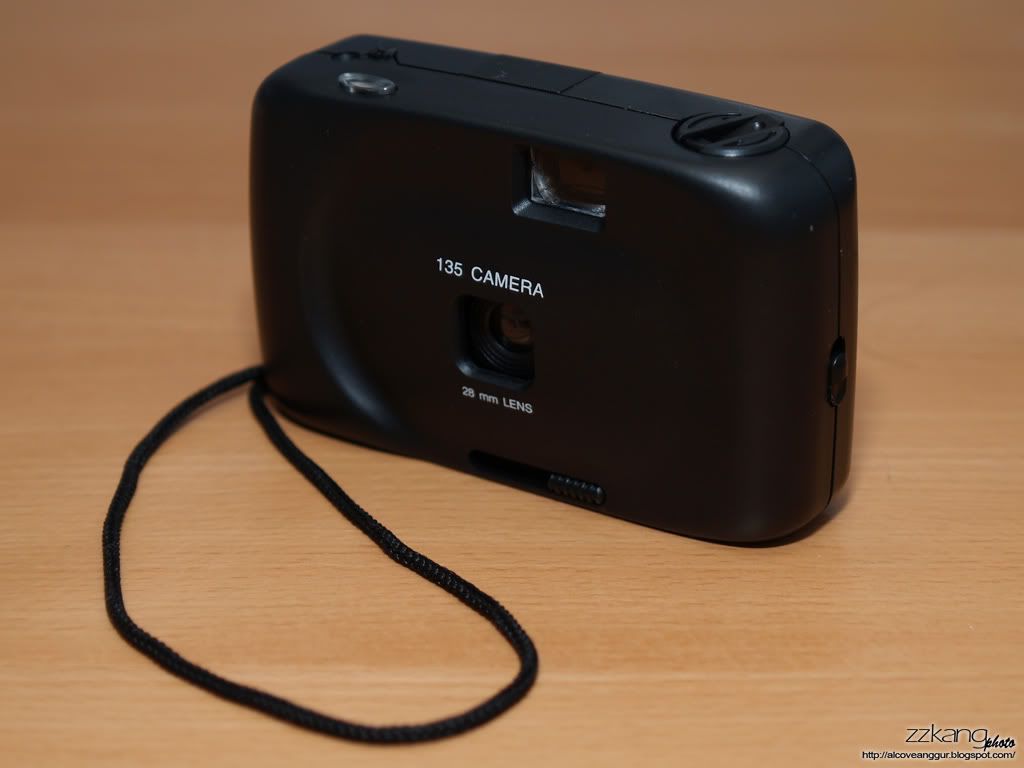
And after 1 hour of assembling the camera...here comes the
Specs of the camera...
Product name: Plamodel Camera
Brand: Superheadz, Japan
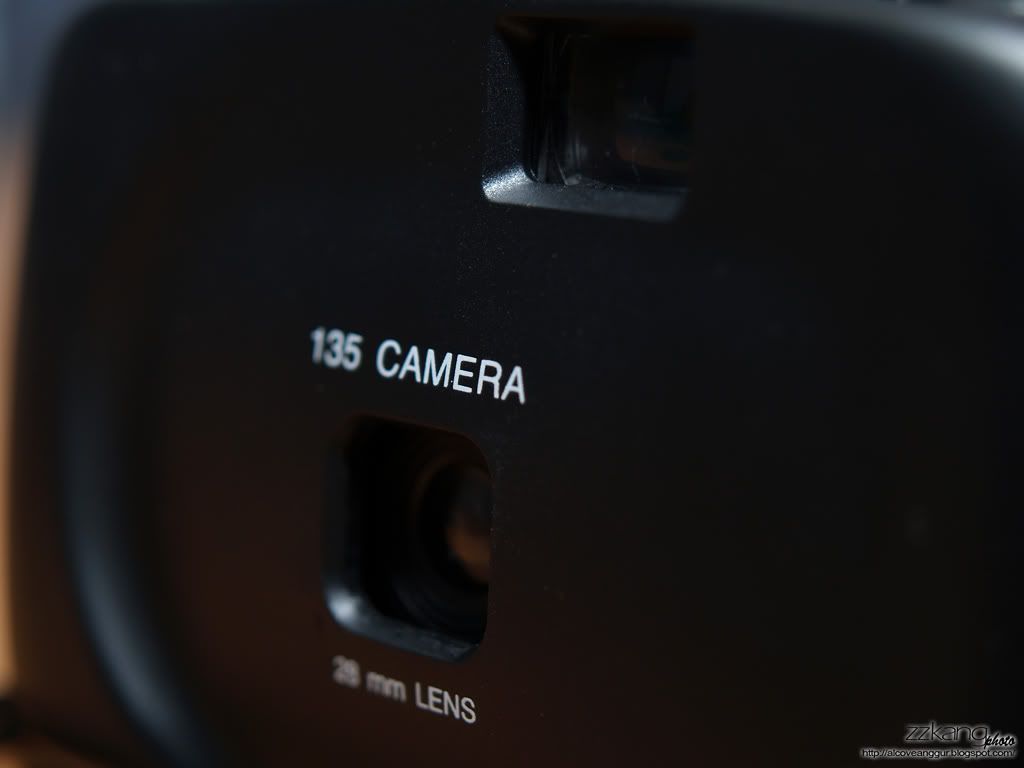
Lens: 28mm wide angle lens
Shutter Speed: 1/125
Aperture: f9.5
Dimensions: 113 X 63 X 35 mm
Film type: 135 (35mm) film
Camera type: Compact camera
So from now on, I can take 'analog' (or original) lomography pictures with this camera. This is a fully mechanical camera, no battery or any electronic involved in this camera. I felt good when using this camera. But with only 36 exposures in a roll of film, you really need to think twice before snap on the shutter button... Hmm..do you really need to think twice in lomography???... :D
I had finished up a roll of slide film with this camera. Will upload some pictures here once the roll processed and scanned. Stay tuned... :D
*Update*
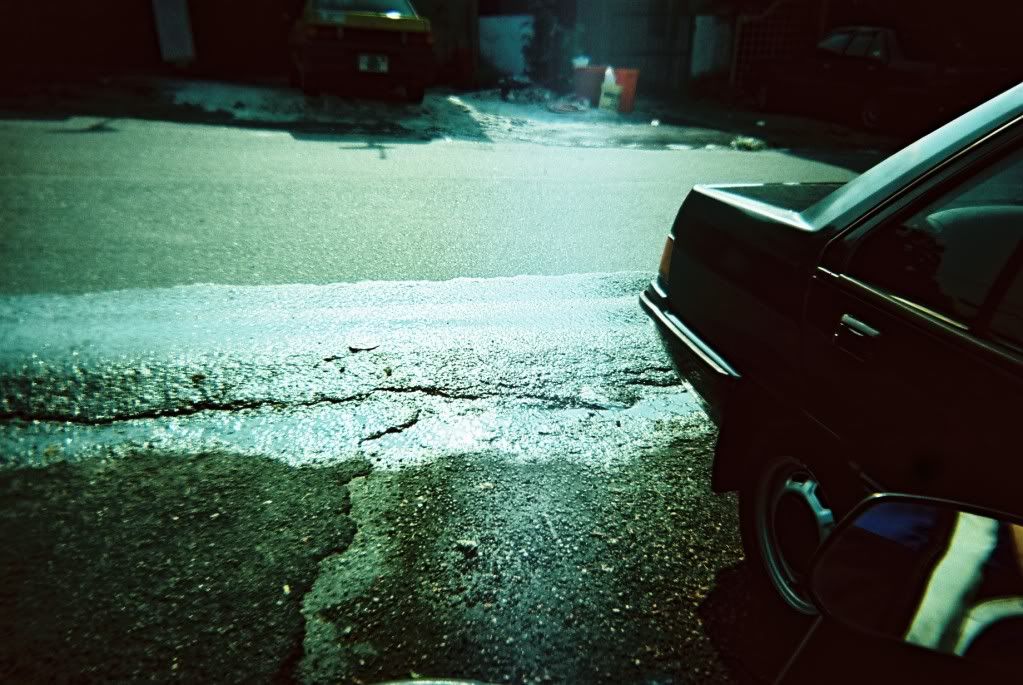
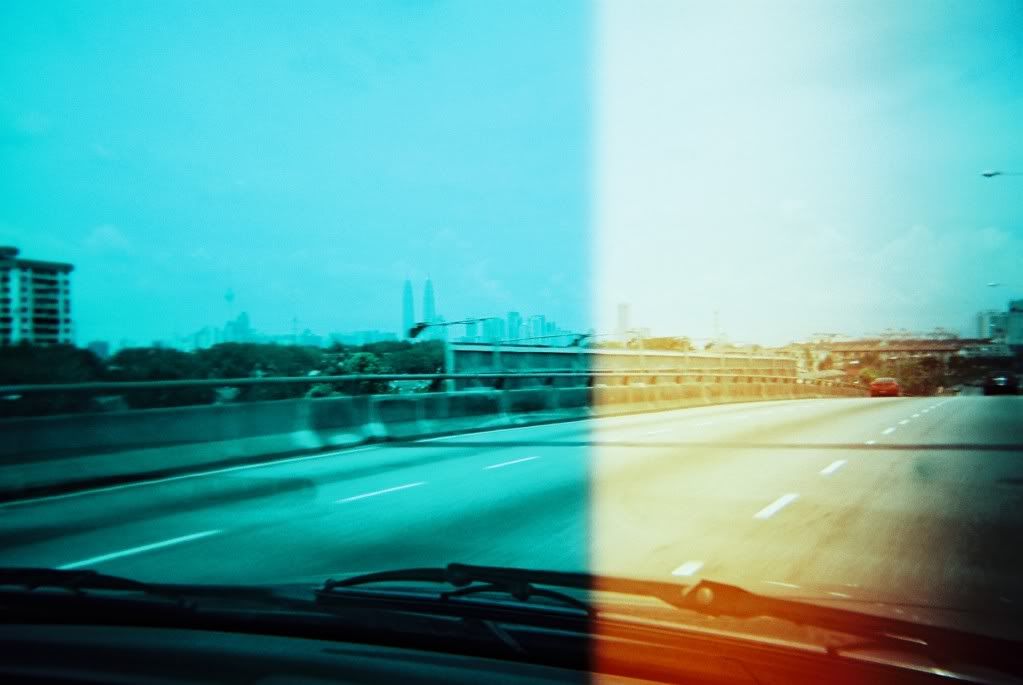
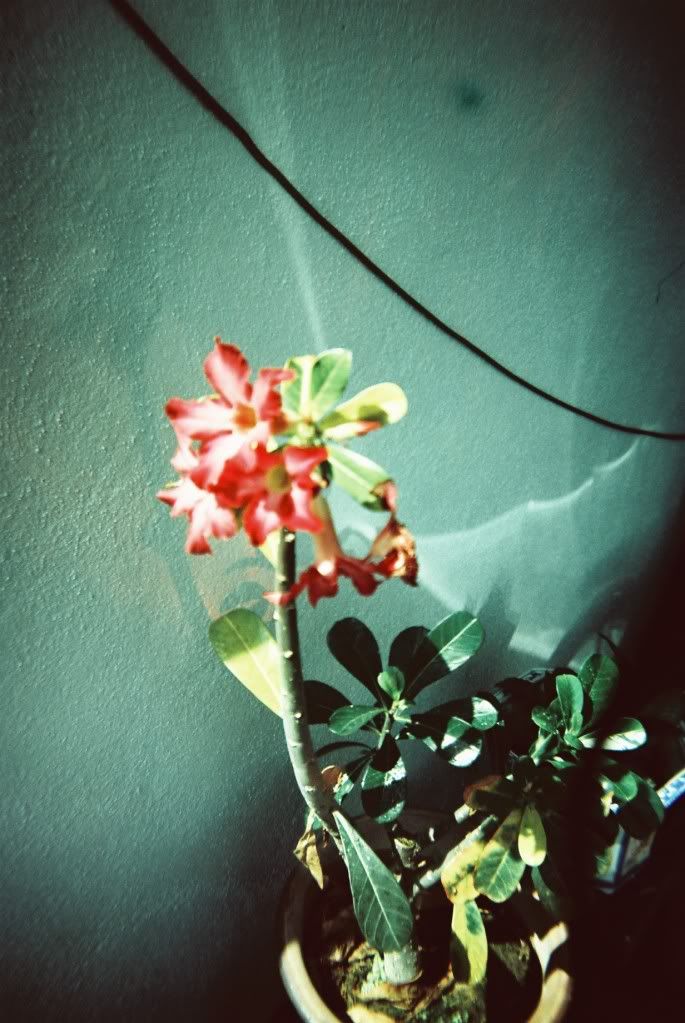
Some pictures from my first roll of film...Enjoy... :D
Like the effect of the pictures?... :D
2008-12-14
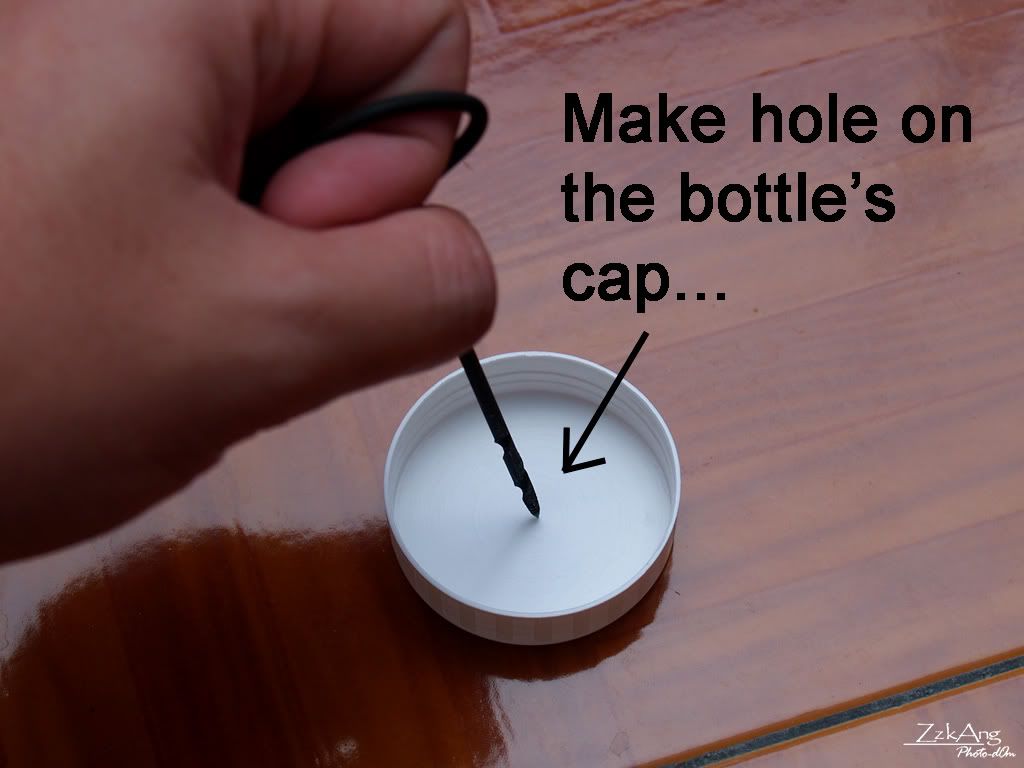
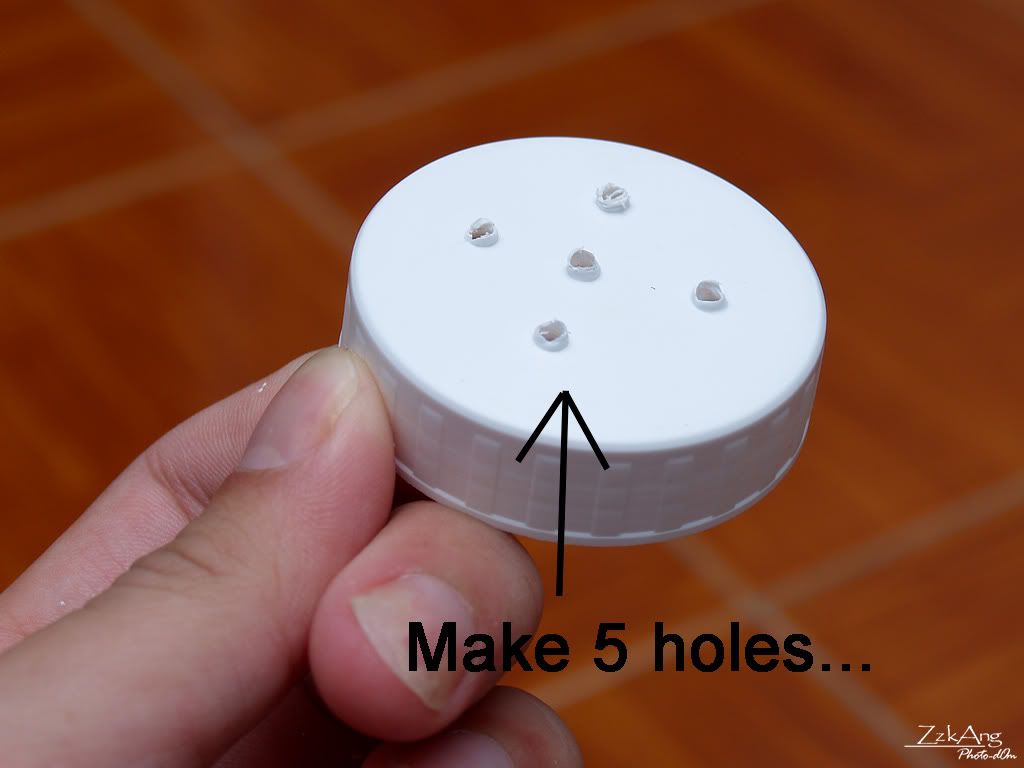
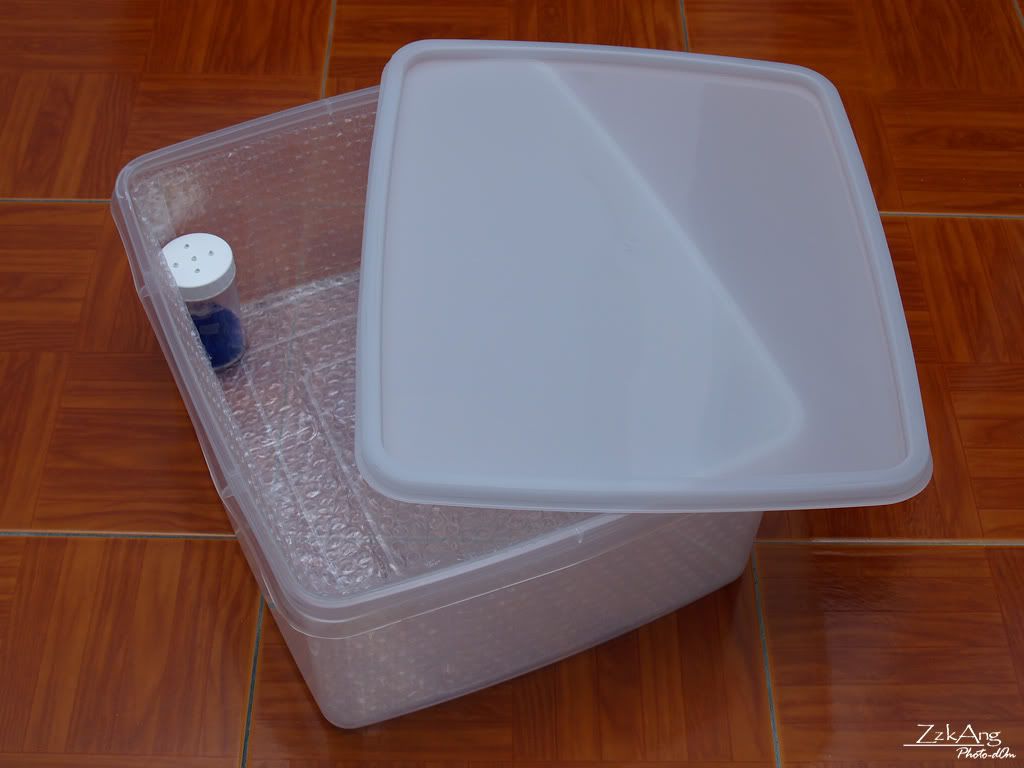
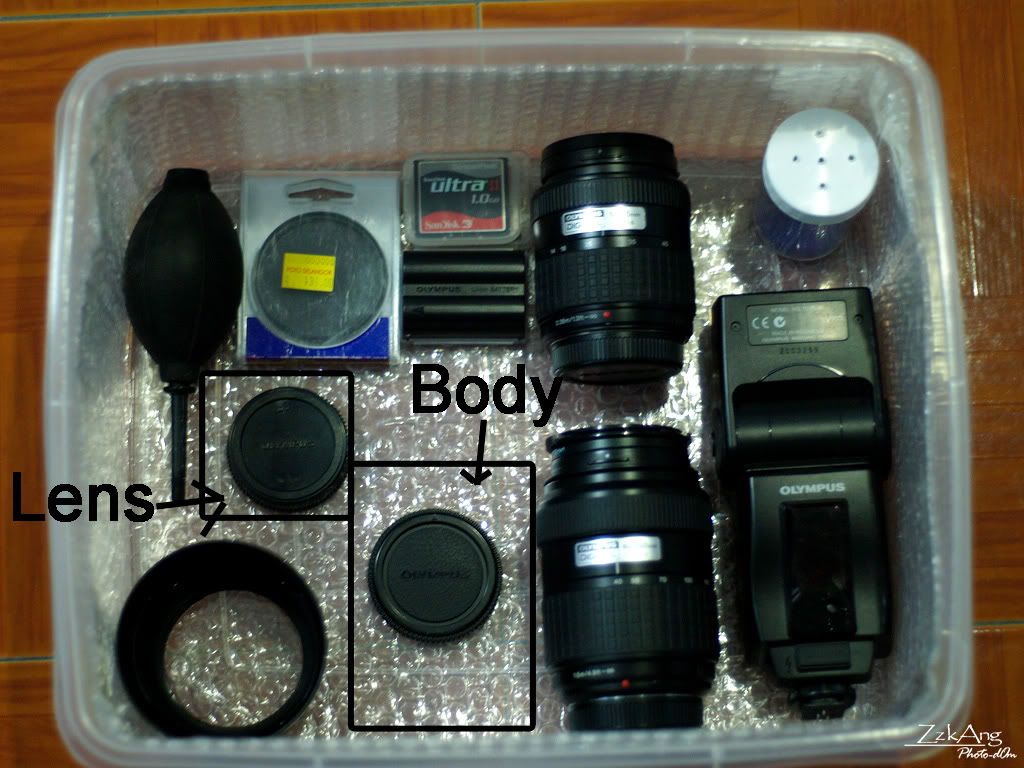
DIY Drybox for Camera Equipments and Accesories
2008-05-03
How to Create Lomography Effect on Digital Images...
Recently, I'm quite attracted to lomography. This type of photography is so unique and fascinating. The quality of lomography image is so bad and this kind of bad quality that make it so special...
To shoot lomography, you need a special camera and film. For more information, visit this site...
Last two days, I've been looking around for the tutorial of creating lomography effect on digital images. I find articles from Photoshop Tutorial, Addicted to Design and Digital-Photography_School are quite useful. After going thru those articles, I decided to create my own lomography effect for my digital images. Below are the steps I took to create the lomo effect...
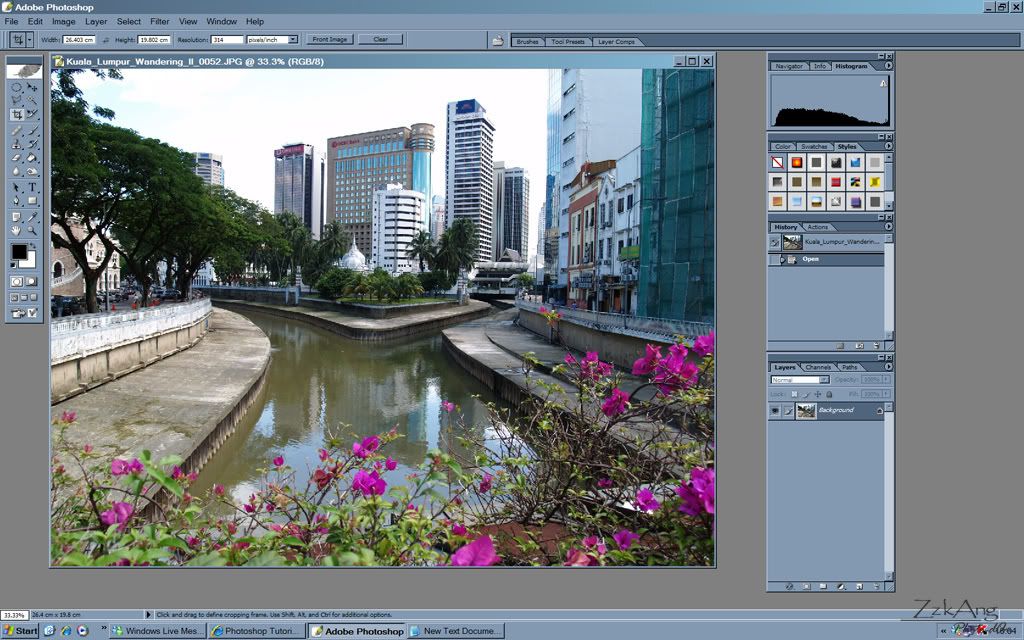
First of all, you need to open a digital image. For your info, I'm using Adobe Photoshop CS...
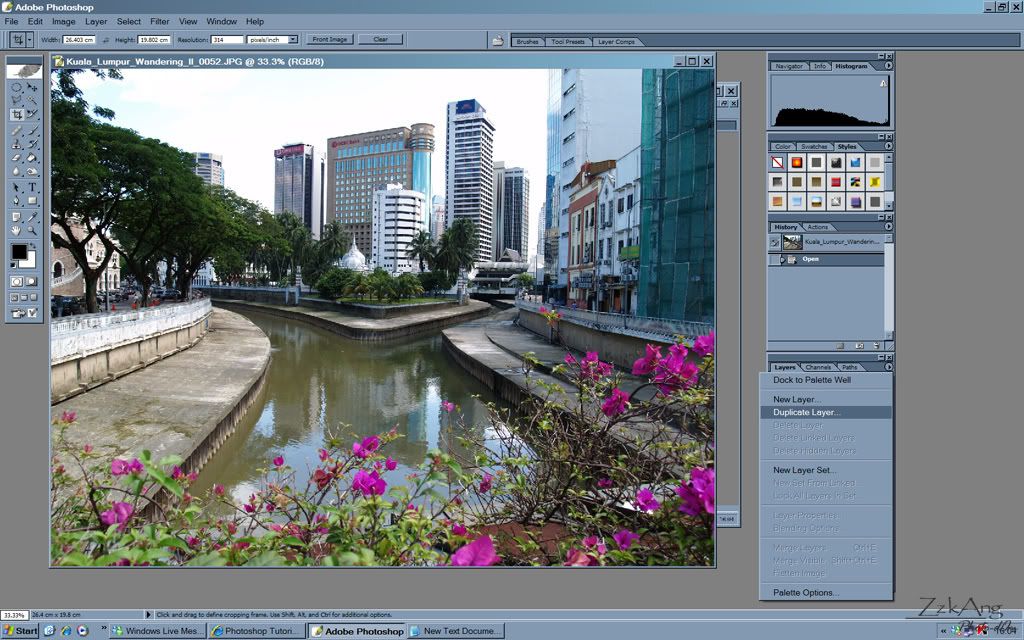
Then, duplicate a layer of the original image. The duplicate image will be used to do touchup-ing. If you don't like the first touchup, you can always duplicate one more copy from the original image without open the new one...
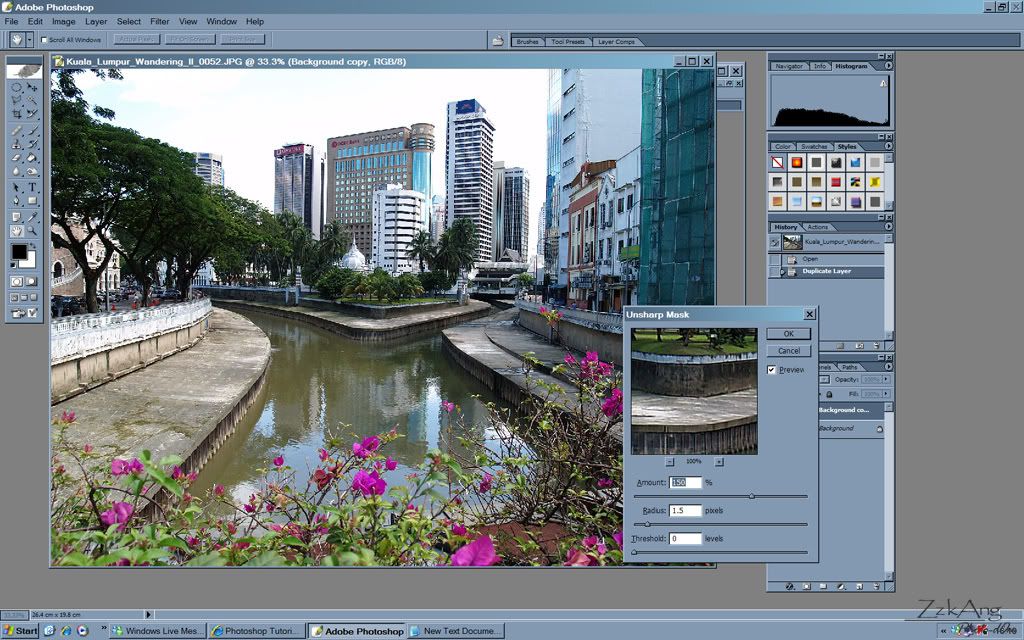
To make a good lomography effect on digital image, it is important to create a film-like effect on the digital one first. After going thru references above, I come out with my own way to create the film-like effect. Firstly, I sharpened the image using Unsharp Mask...
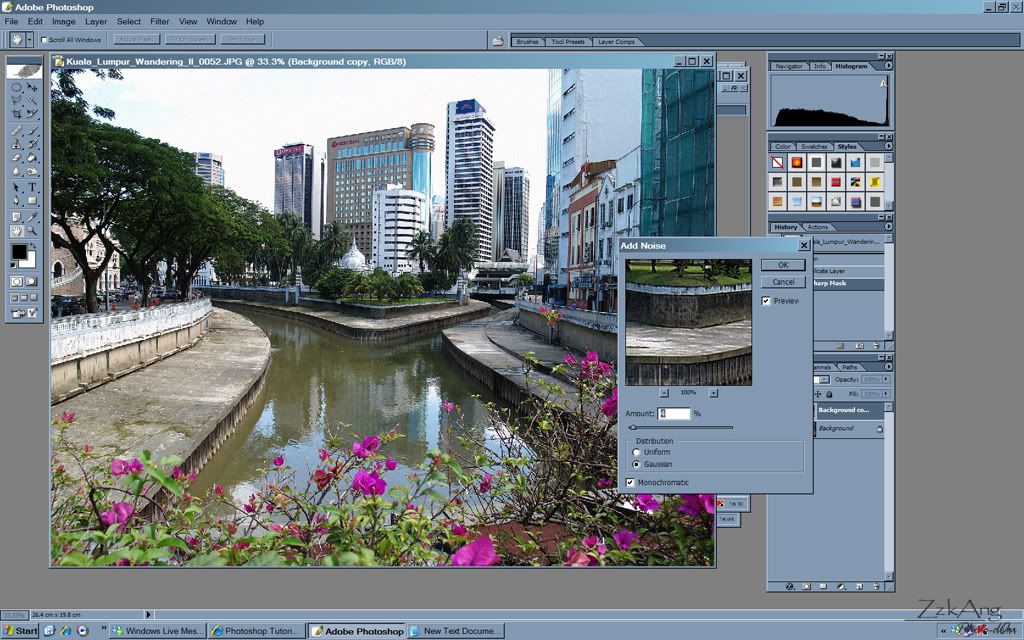
Then, i add some noise to the image...
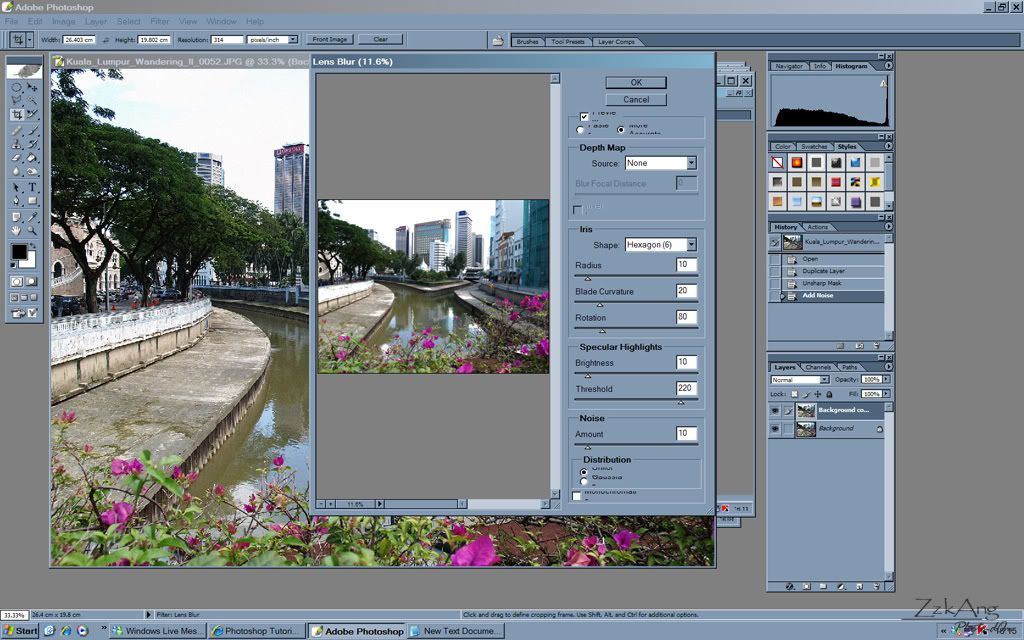
Lens Blur effect is added to make the image not so 'digital'...
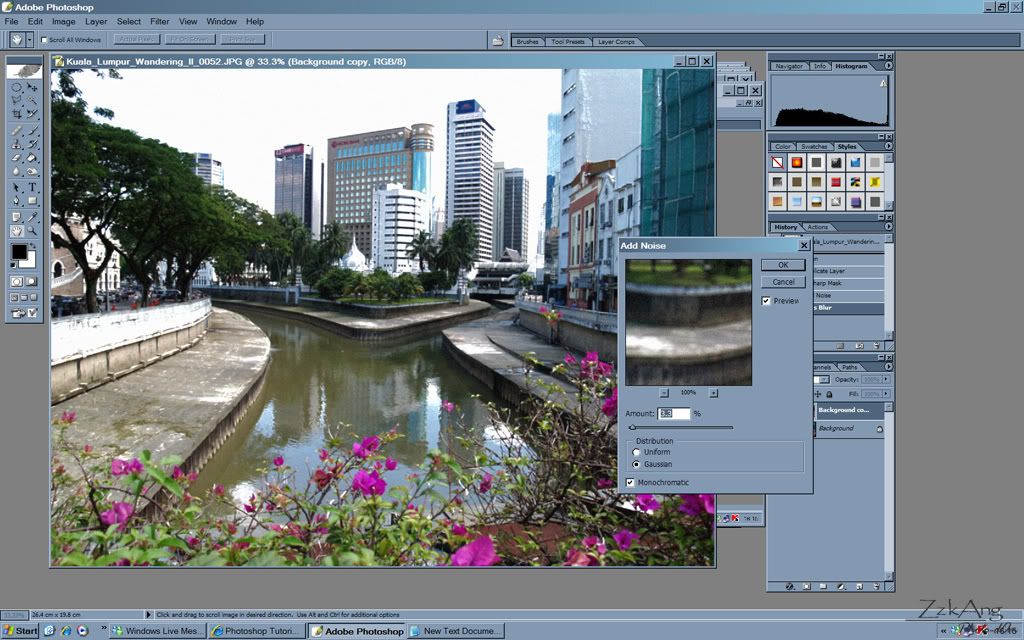
More noise added...
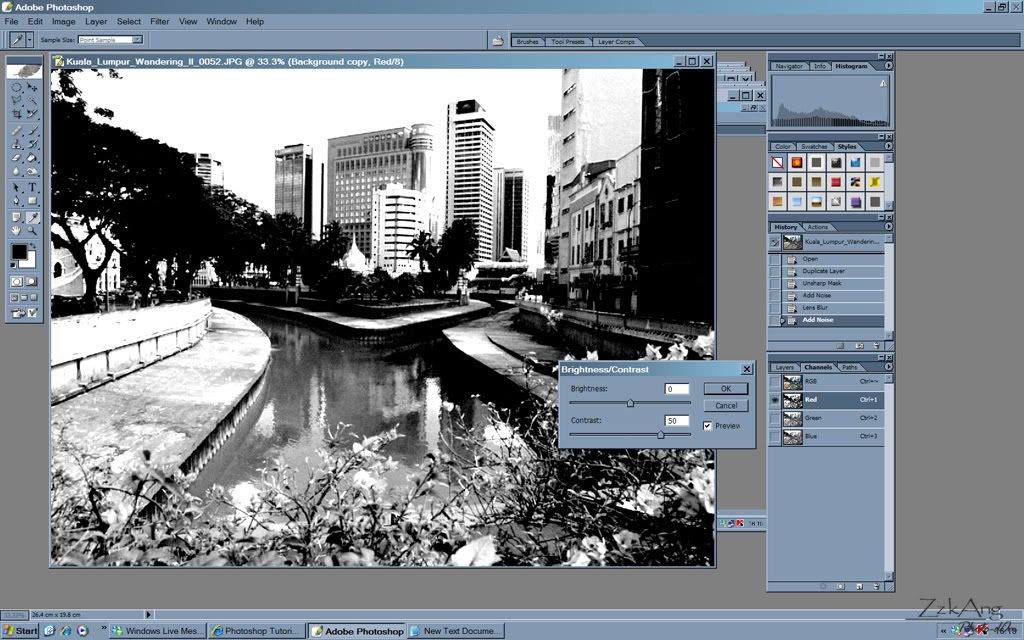
After that, we need create lomography colour on the image. Inside the Channel palette, select the red channel. Then, go to Image > Adjustment > Brightness/Contrast to adjust the contrast of your liking...
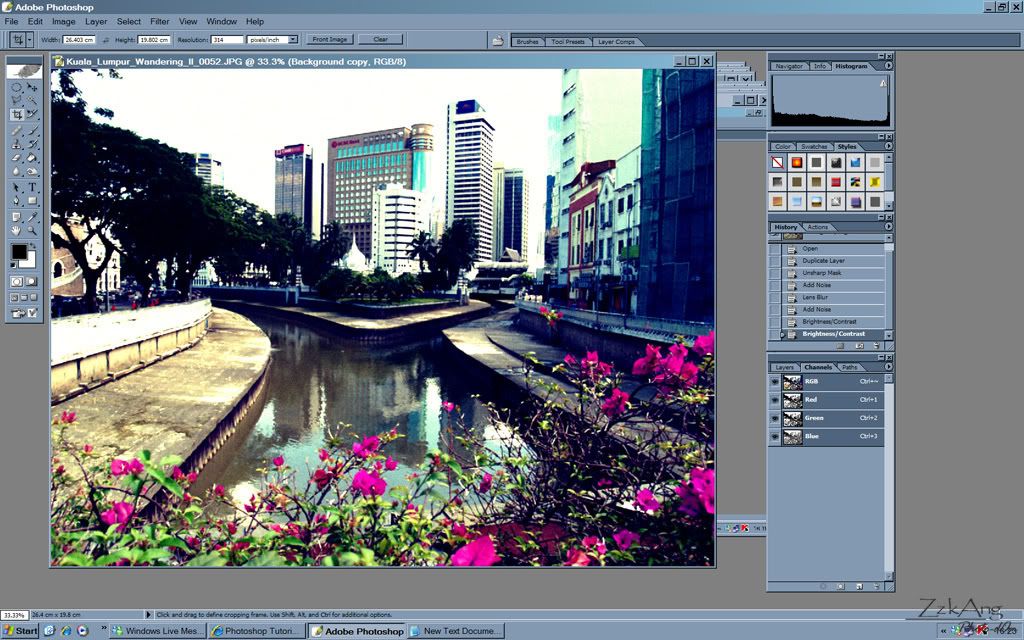
Then, select the green channel and do the same on Brightness/Contrast. Click on RGB channel to go back to colour/RGB mode and you will get lomo-like colour on your image...
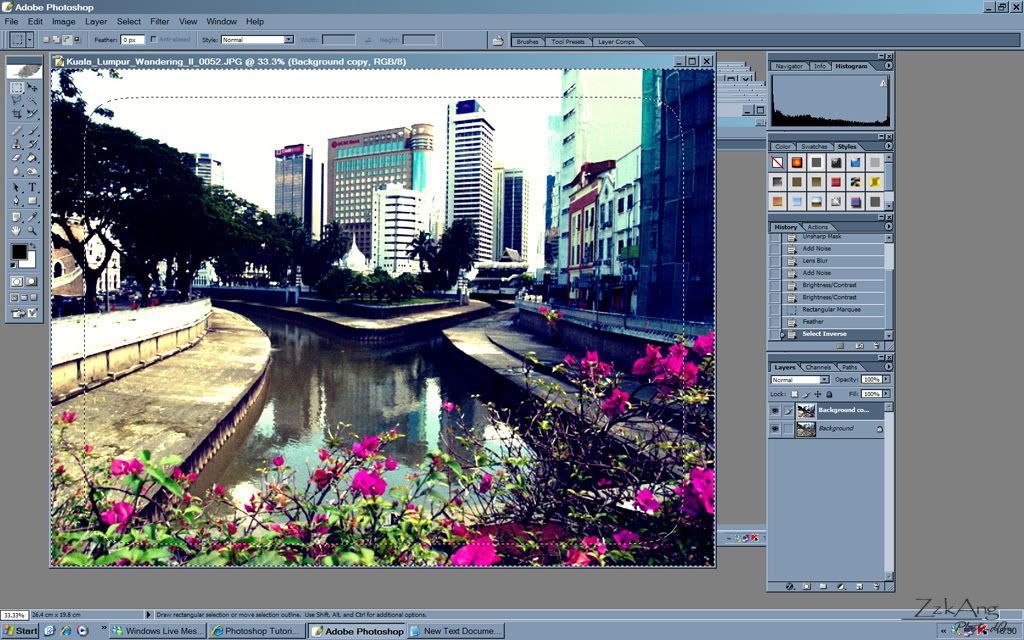
If you like vignette effect on your lomography image, you can create vignette on your image. Go to Select tool and select the area close to the edge of the image. Then, set Feather to 80px and inverse the selection...
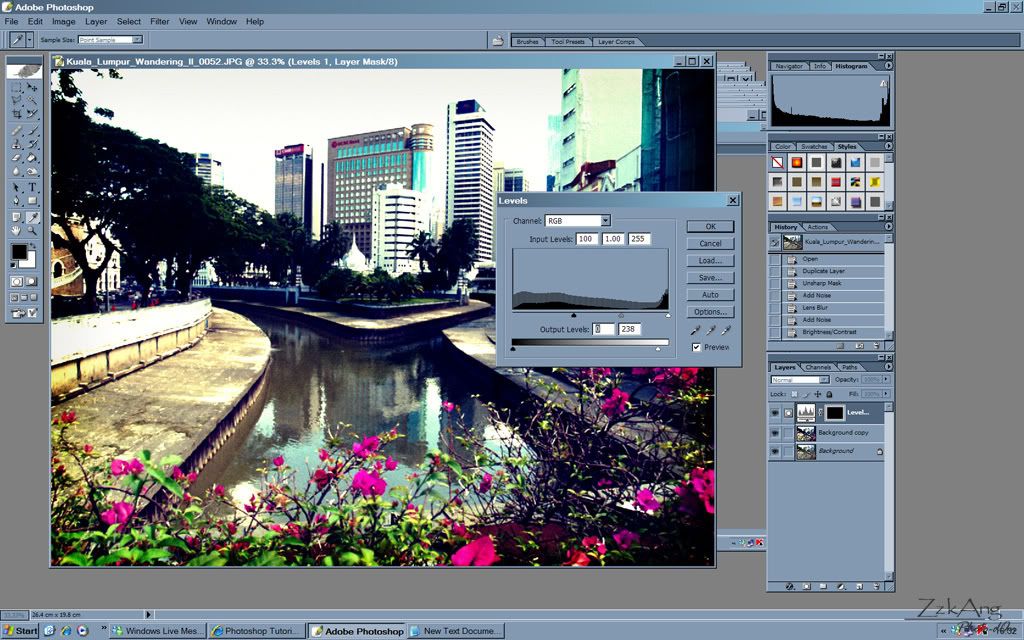
Go to Layer > New Adjustment Layer > Levels to create vignette effect by adjusting input levels and output levels to your liking...
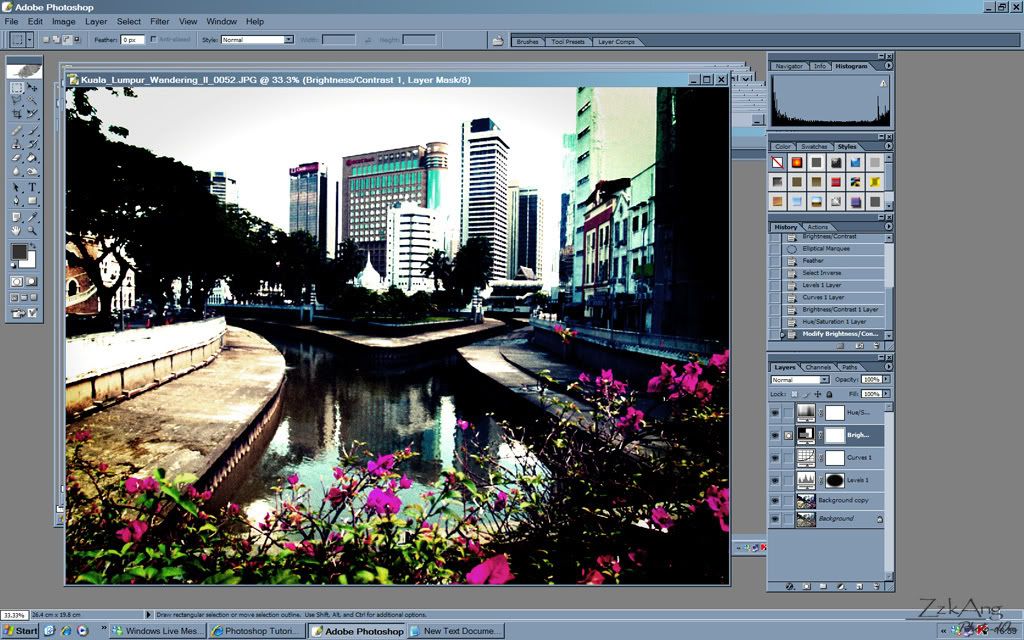
Almost finish. You can add more adjustment to your image like Curves, Brightness/Contrast and Hue/Saturation depends on your liking. For myself, I like more contrast and unsaturated on my lomography image...
I'm not good in giving tutorial, I hope you understand what I posting about...After this, I will start my new assignment on lomography...Do visit back :)
2007-03-26
D.I.Y. Flash Diffuser (Updated)
Last Saturday, I went around Kuala Lumpur to look for every possible most stocked camera shop for a flash diffuser for my FL-50. I desperately want the diffuser for my upcoming photoshooting session. So, the result...
"No stock la...Canon and Nikon only got stock"
"We don't sell any flash diffuser"
"Stock Bo Liao, please come next Monday or Tuesday"
"You need to book for it-lah, stock will come after 10 days!!!"
SH*T!!!...Why is it so hard for them to keep more stock???... People around not using Canon or Nikon ONLY!!!... Fed up with all the reply... I went home to have a good night sleep...
Today, 26/03/2007, I went to Parkson Grand to shop around looking for any possible item can be used as flash diffuser. I bought 2 items... White-coloured tea filter (16 sheets) and oval-shaped mini tupperware (4 pcs), which cost me respectively RM4.95 + RM2.50 = RM7.45... Hahaha...I saved RM72.55 without buying that stupid hard-to-get diffuser... Without wasting any time, I went home to invent my own FLASH DIFFUSER...see below how i invent it.......
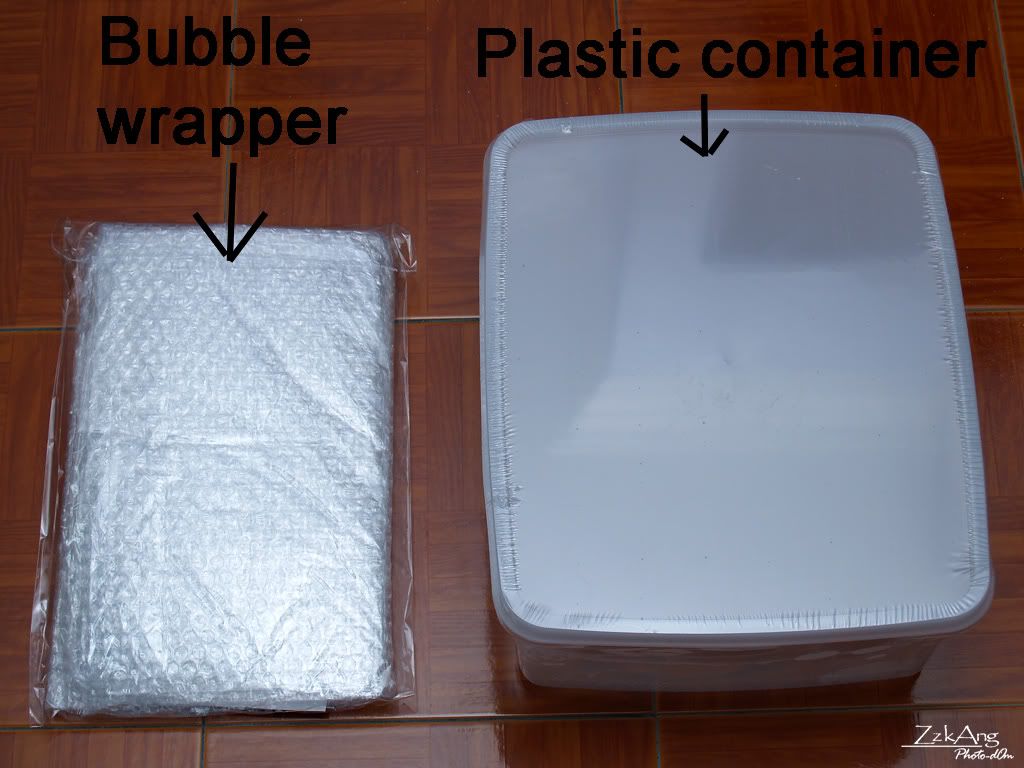
1: Item needed as in figure below...
2: Don't push too hard...later tear apart...
3: The second tea filter cannot fit in anymore...so need to cut on one side and warp around the tupperware later...
4: Use the rubber to tie it neatly...
5: Attach to the head carefully...smoothly...
6: Another masterpiece of mine...
The result......
1: Bounce Flash (Indoor)
2: Direct Flash (Indoor)
I don't know the result showed above is OK or not because all shot taken under fluorescent light (I had mixed feeling on the results)...for bounce flash with diffuser, shadow is less and more details shown up compared to without diffuser... But for direct flash with diffuser, the result is not much different...
After testing my self-made flash diffuser in outdoor shooting, me quite happy with the result (see below). To get a better result...maybe I should put one more layer of tea filter on my flash diffuser. To me, this self-made flash diffuser is 75% perfect. What do you think???... :)
3. Direct Flash (Outdoor)